It’s so much fun to give home made Christmas presents and if you’re on my list this year, you might be getting a shadow box! They are so much fun to make.
Here’s how:
1. Take a small sturdy box and cover with the paper of your choice. You will want to choose a die that fits your box well. I used vintage paper throughout.
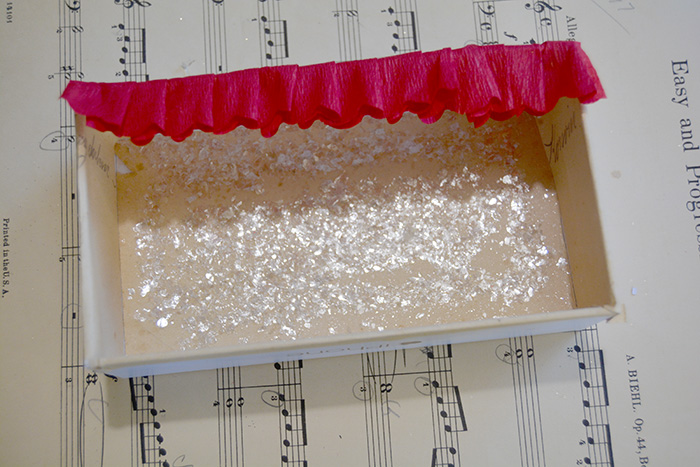
I glittered the back of my wrapped box by simply rubbing a glue stick on it and dropping mica glitter in, then tapping the excess back into a jar.

2. Using the adhesive you like best, ruffle some paper and stick it on the top of the box as shown. I used a roll of crepe paper glued quick and dirty with my trusty fine tip hot glue gun but you can use any paper and adhesive you like.

3. Fold the paper down so it becomes a “curtain” across the top of your shadow box and glue another piece of paper across the top of the box. This will cover up any messy glue that may have escaped in step #2! Trim the curtain to the length you want. I used scalloped scissors for this.
4. Cut out the die of your choice from card stock. My Shapeabilities Holiday 2017 die (please insert link to this page)https://www.spellbinderspaperarts.com/shapeabilities-presents-holiday-2017-by-sharyn-sowell-etched-dies/ is a perfect fit for this kind of project.
Fold the bottom of the die cut paper over and glue to the bottom of the box.

5. Now decorate and embellish to your heart’s content. I used pipe cleaners, glitter, baker’s twine,a sprig of wired trim, and two silver star stickers. You can add feet if you want. Mine are hazelnuts.

I love home made gifts more than anything ready made because they come from the heart. Isn't this one sweet?